Help
Setting up Resend.
Add your domain in Resend, paste one API key into Newsletter Sender, and you are ready to send. Setup takes about 10 minutes, most of which is simply waiting for DNS records to propagate.
1Before you start
- A Resend account: sign up at resend.com if you haven't already.
- Your sender address: check your From address (such as
news@yourdomain.com) in Newsletter Sender under Settings → Your company. Resend must be set up for this address's domain.
2Add and verify your domain in Resend
- In Resend, open Domains and click Add Domain. Use the domain your newsletters come from. Choose the region nearest most of your readers.
- Resend lists the DNS records: MX and TXT records for sending, and a DKIM TXT record. Add them where your domain's DNS is (see the tips below).
- Click Verify DNS Records.
- If your DNS is on Cloudflare: go to DNS → Records → Add record. Set any CNAME records to DNS only (grey cloud), not Proxied (orange cloud), or Resend can't verify them.
- If your DNS is elsewhere: copy each name and value into your DNS host's dashboard (such as GoDaddy or Namecheap).
DNS records typically take effect within a few minutes, though some hosts take up to a few hours.
3Make an API key
- Open API Keys and click Create API Key.
- Name it
Newsletter Sender, set Permission to Full access and copy the key. A Sending access key sends fine, but can't add webhooks, so you'd have to add the bounce webhook yourself.
4Connect Resend to Newsletter Sender
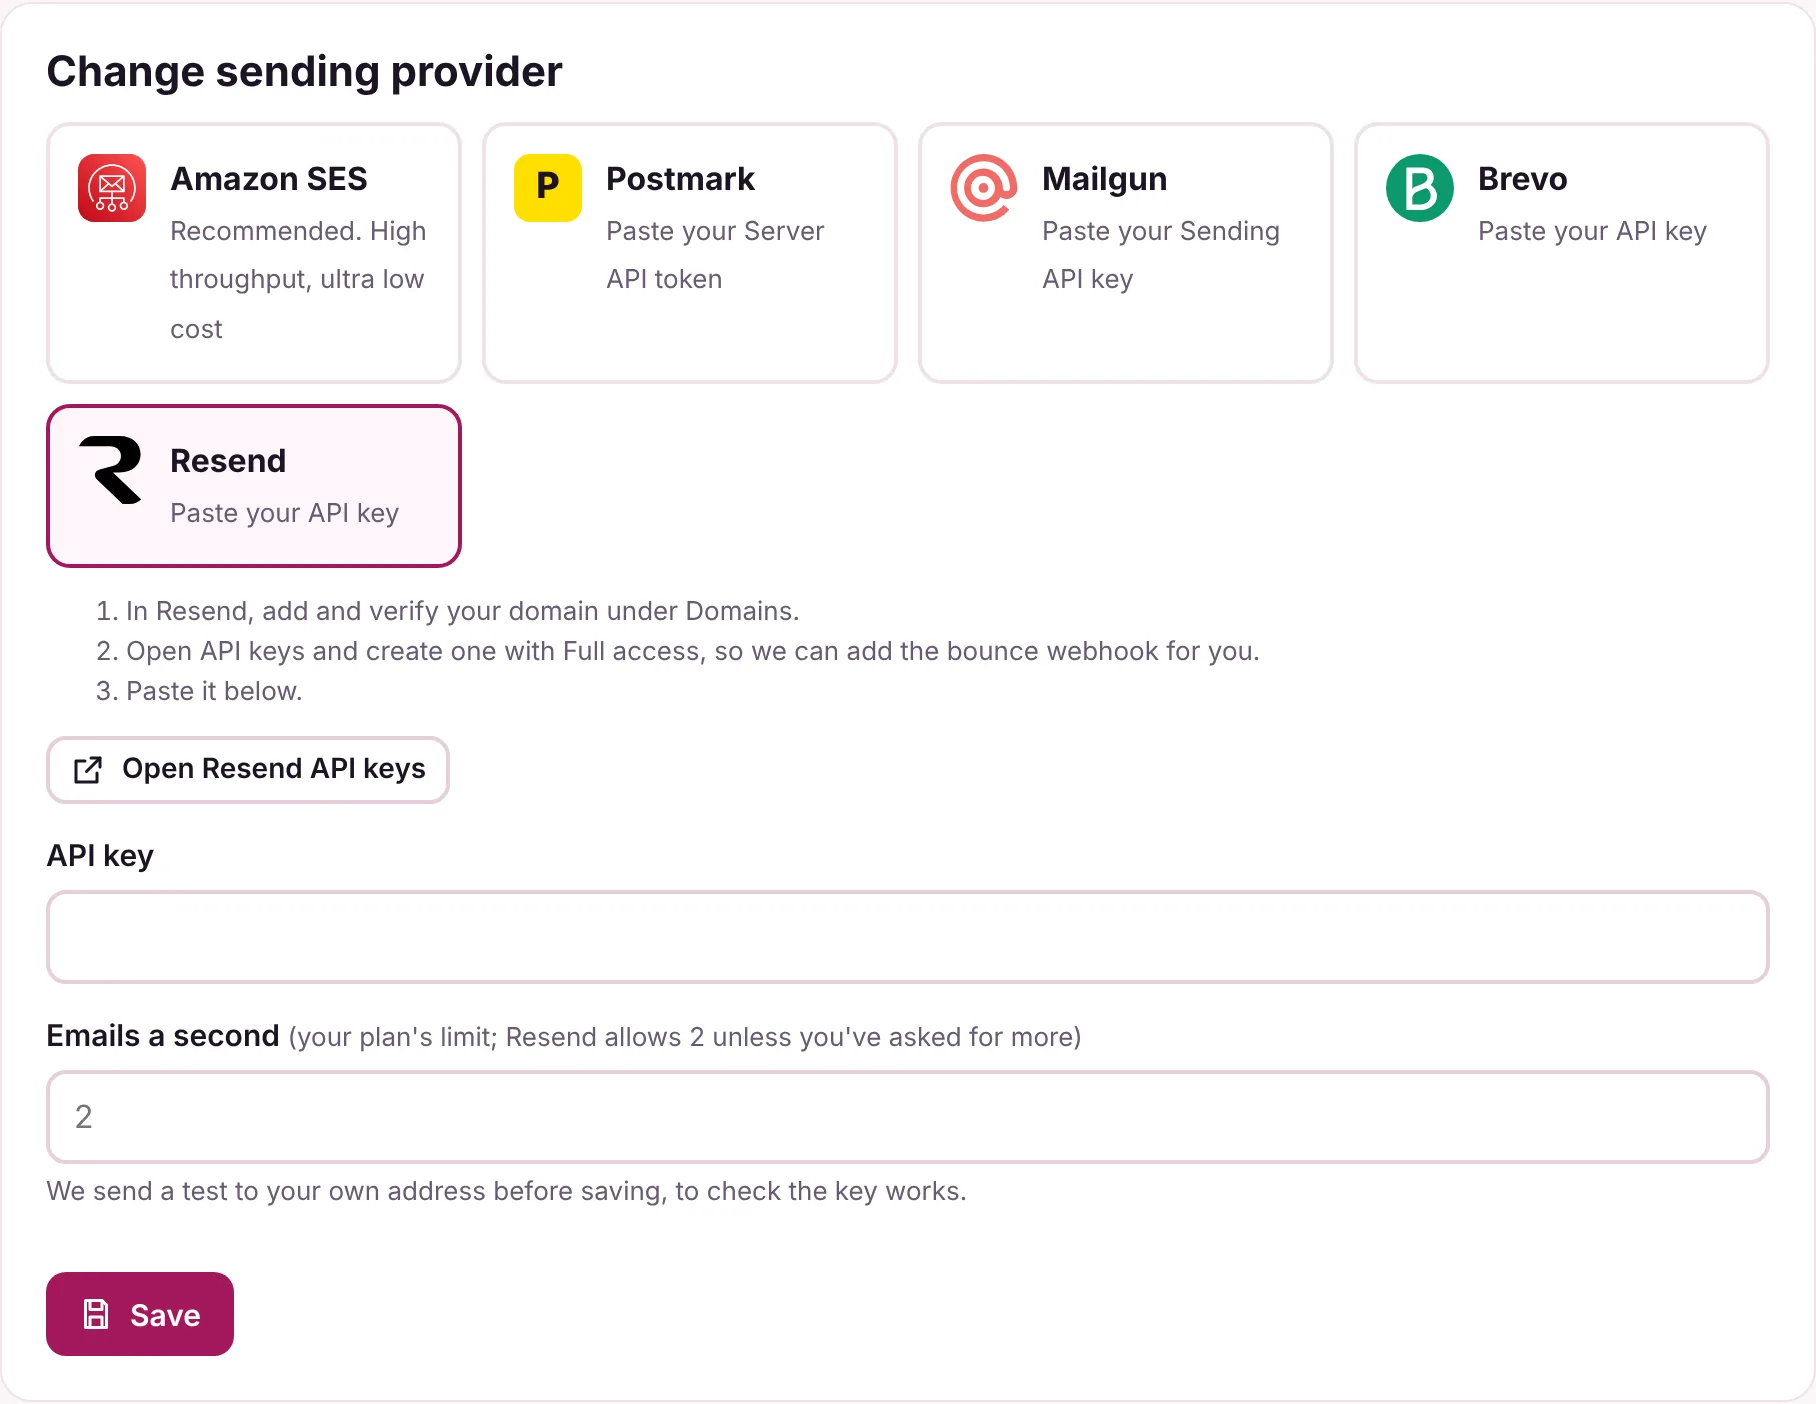
- In Newsletter Sender, go to Settings → Sending and select Resend.
- Paste the key into API key. Set Emails per second to 2 unless Resend has raised your limit.
- (Optional) Sending rate: enter your account's limit under Emails per second. Leave it blank to use the default of 2 a second.
- Click Save.
Newsletter Sender checks the API key with Resend and sends a test email to your own address. Once it works, your API key is encrypted inside your own Cloudflare account and hidden from view.
5Automatic bounce and complaint tracking
When you click Save, Newsletter Sender uses your API key to add its webhook for you.
This means every hard bounce and spam complaint comes straight back to Newsletter Sender, and those contacts are never emailed again. Once it's active, Settings → Sending shows a green tick.
If the webhook couldn't be added automatically
The page shows an Add it for me button to try again, alongside the webhook address to add yourself:
- In Resend, open Webhooks → Add Endpoint.
- Paste the address and choose the
email.bouncedandemail.complainedevents.